Inside sincrona · 4 November 2026
Refining how we make reels with AI
We shot an enduro reel with AI by refining the process from our first experiment, and weighed up the results.
Models
4 for video, Nano Banana and ElevenLabs
Images
Cast, sets and frames
Video takes
21 fewer than last time
Prompts
12 for images, 7 for video and 24 for audio
Audio clips
2,690 ElevenLabs credits
Cost
Images, video and audio
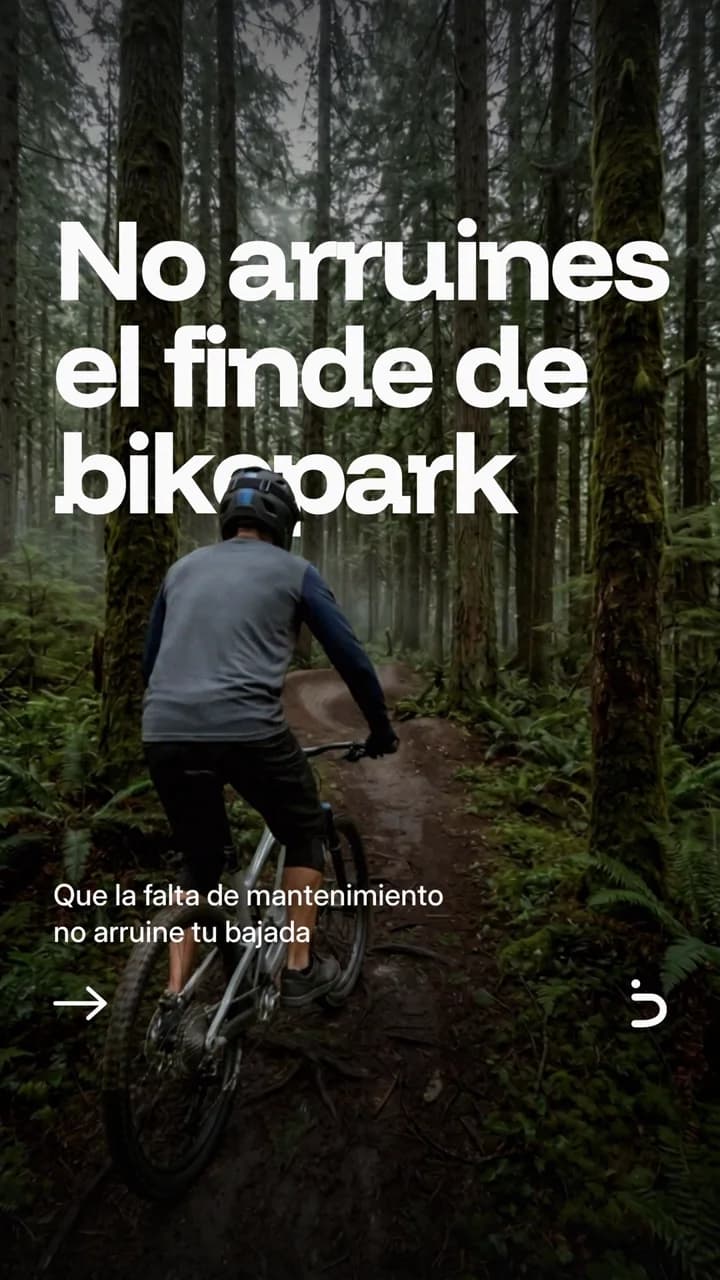
Everything you see in this article is AI-generated
The rider, his bike and the setting don’t exist. The sound effects are AI-generated too.Where we started
With our first experiment with nine AI video models we learned these key points:
- The reel feels static: shots start from a stationary subject and lack movement
- Transitions between takes are needed to feel natural: camera movements were missing
- If the model is given a single image, the resulting video lacks creativity
The new reel
For this experiment we started from a new idea: an enduro video combining outdoor scenery, action and mechanical close-ups.
The goal of this post is to highlight good preventive maintenance, so that a breakdown doesn’t ruin your weekend in the mountains.
The story: a mountain biker riding down a Whistler-style landscape, enjoying the descent, until the chain suddenly snaps in a sprint.
This test will be radically different, because we are bringing new elements into play: outdoor scenery, action and mechanical close-ups.
Key shots of the enduro reel
First we split the story into key shots, so that each has a clear purpose within the visual narrative. That makes it easier to create individual takes with the models without exceeding their capabilities.
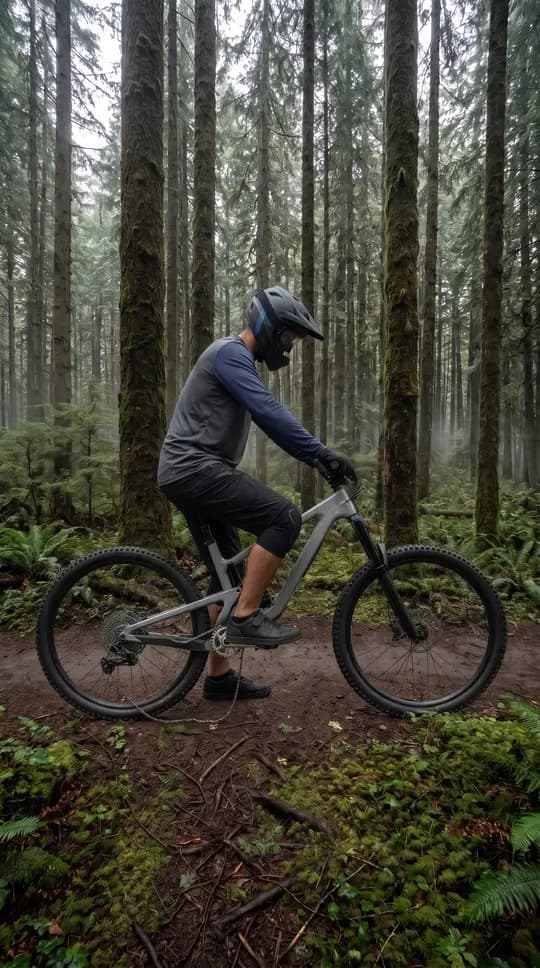
Casting: characters and setting with AI
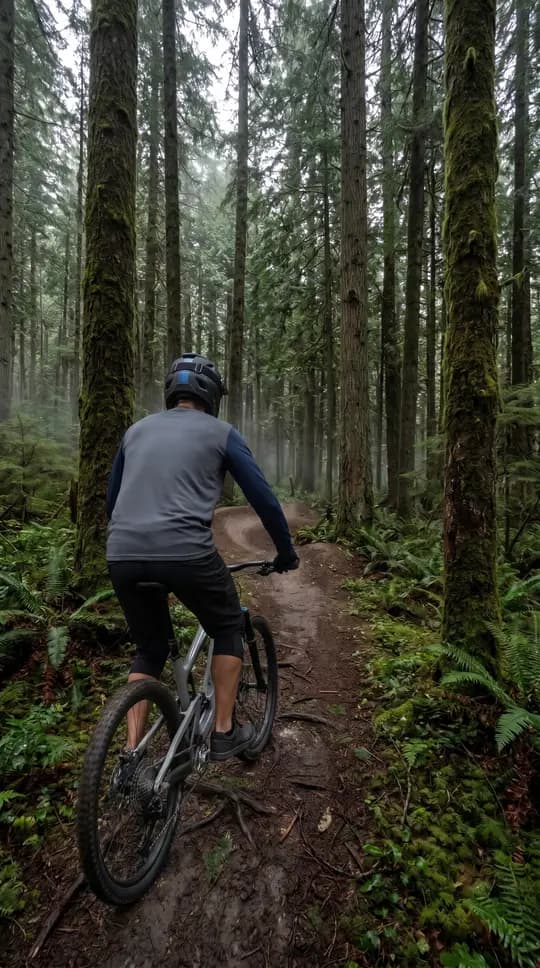
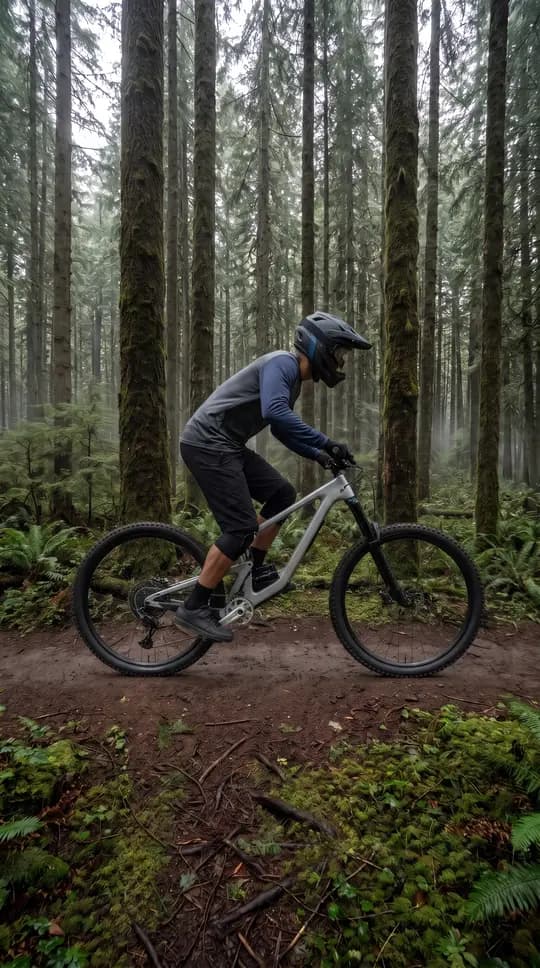
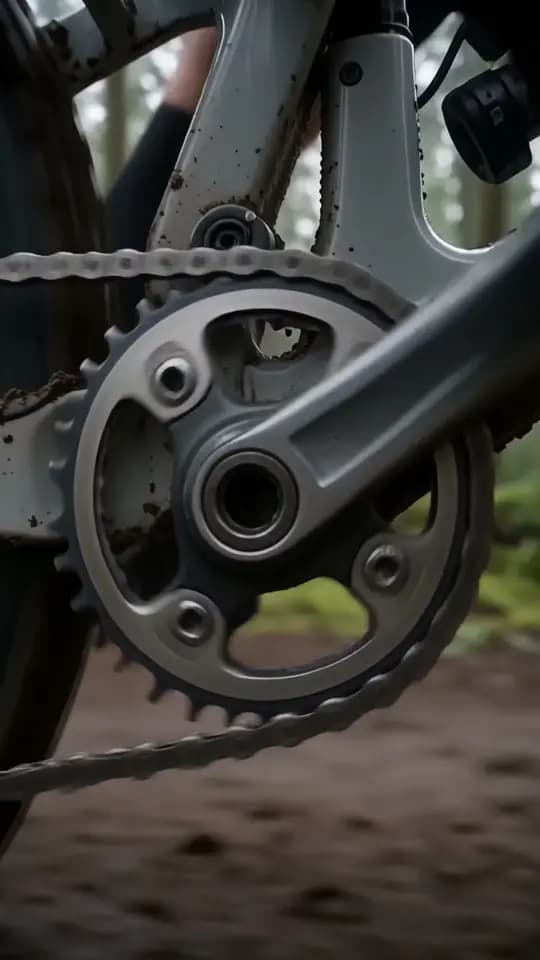
API: Nano BananaWe started by building the character and the other key subjects of the video, with the Nano Banana API. As in the previous experiment, we defined the subjects and the setting. The difference is that this time we generated every angle before shooting: the rider from the front and from behind, the whole bike and a close-up of its drivetrain, and the trail and the jump.
With only the rider’s front and back, the model drew a logo on the side of the helmet in every attempt, and the sprint frame needed four rounds. We fixed it by editing the good frame and changing just one thing (removing the emblem), instead of regenerating it.
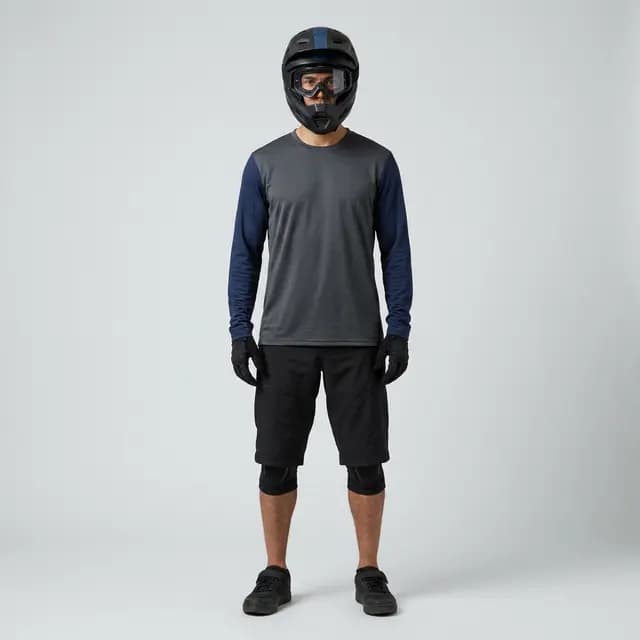
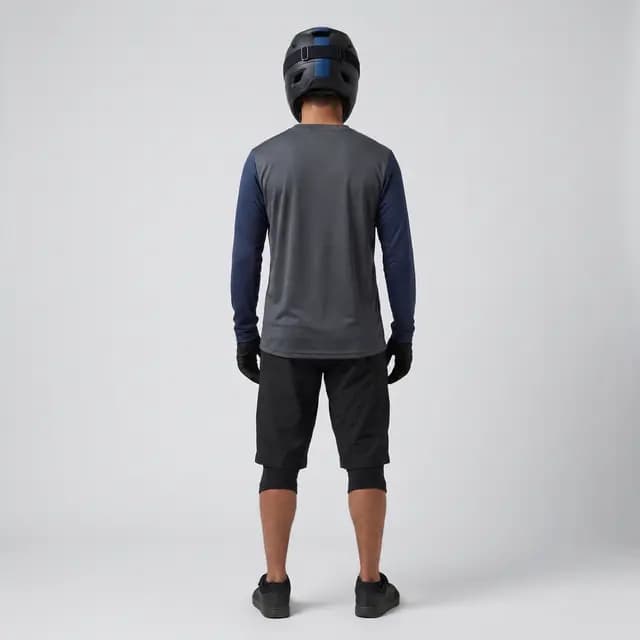
From the front and from behind
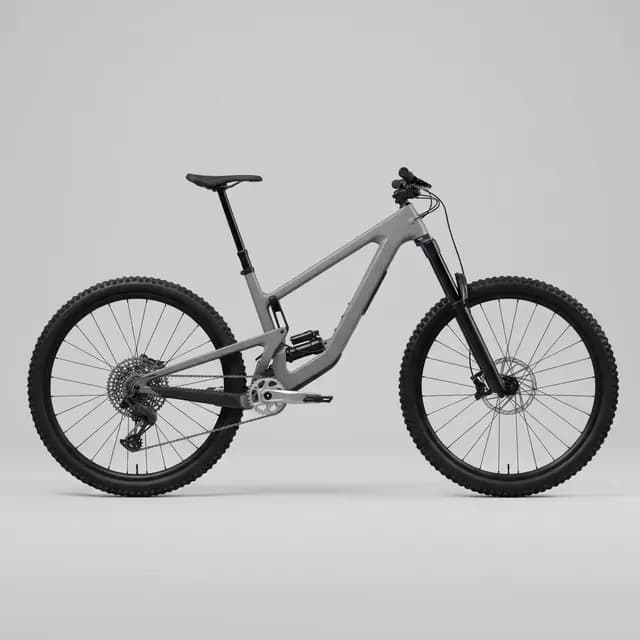
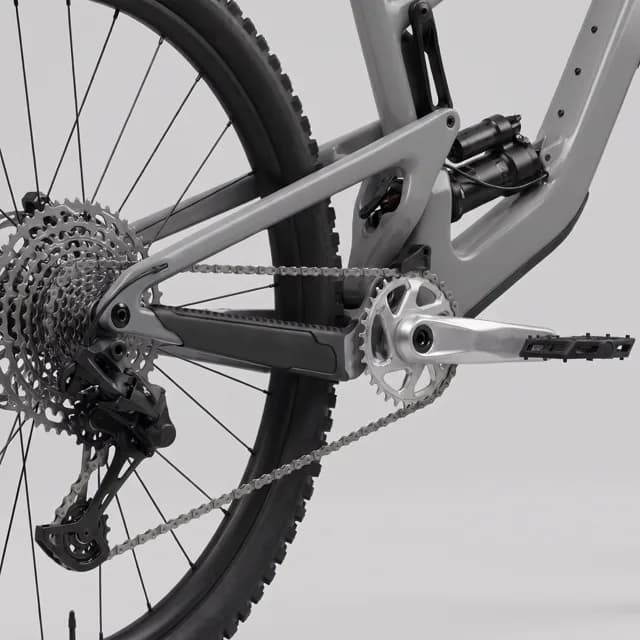
Bike and drivetrain close-up
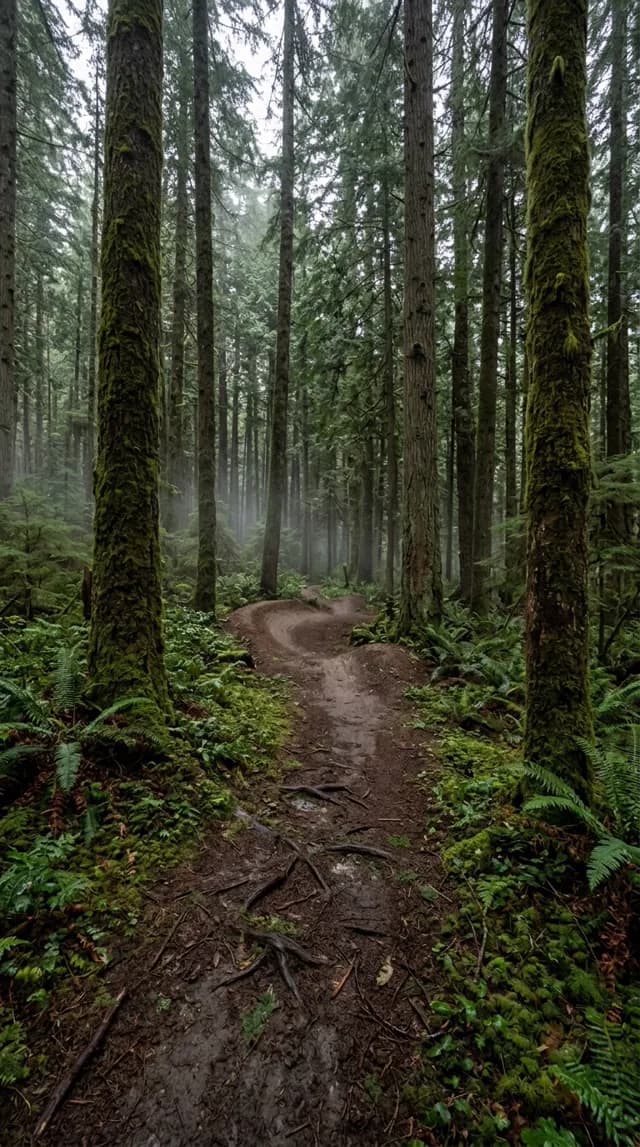
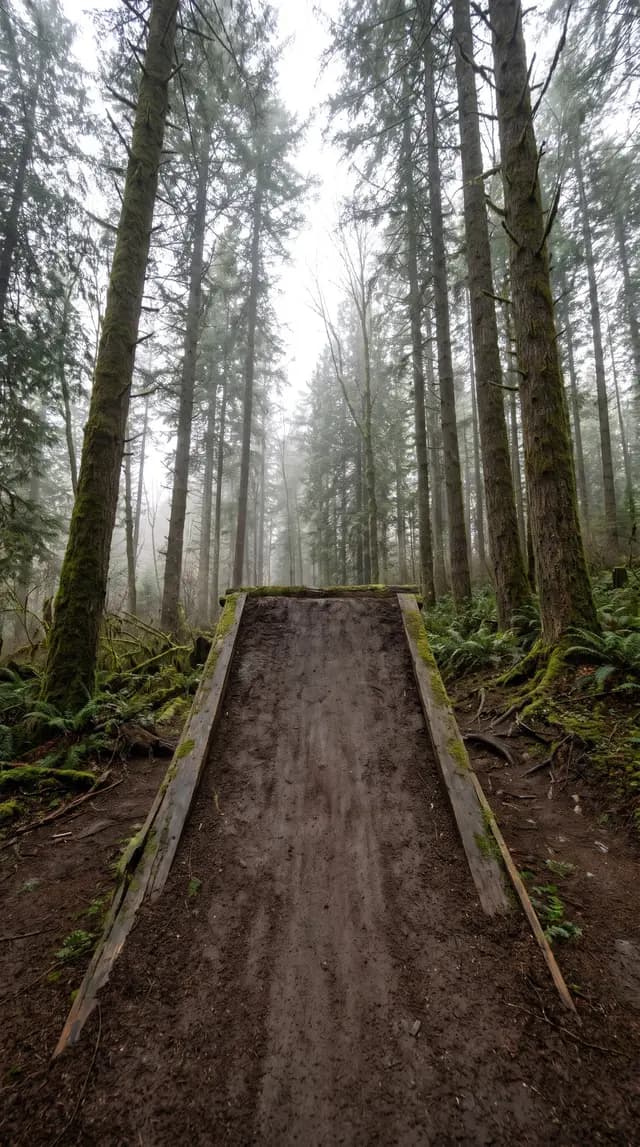
The trail and the jump
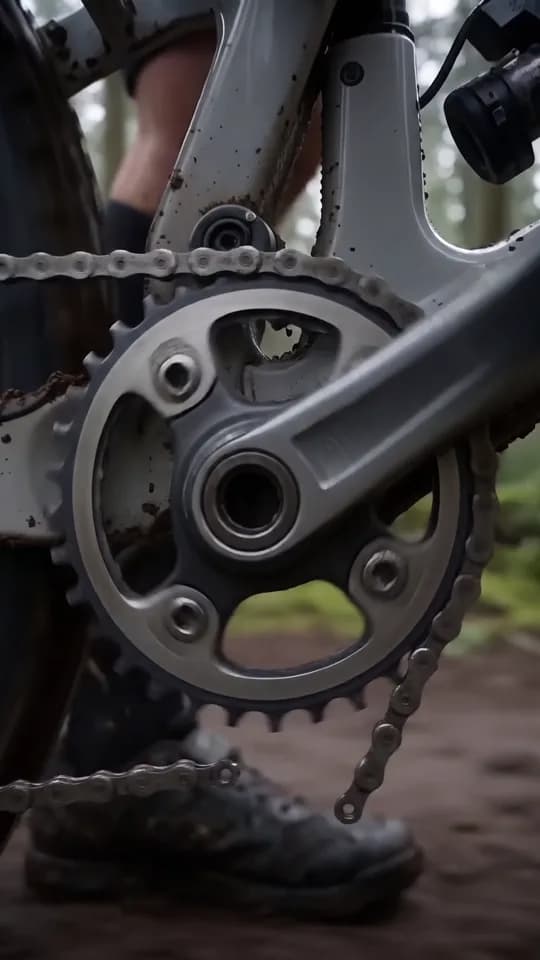
Support frames
Additional images that give context to the action. For each take: a start frame, an end frame and optional intermediate ones.
We introduced:
- A start frame: created with AI, or taken from the end of the previous take.
- An end frame: created with AI.
These matter most when subjects appear in or disappear from the scene. In the snap, the end frame is the start frame edited with the chain broken. The ones we generated:
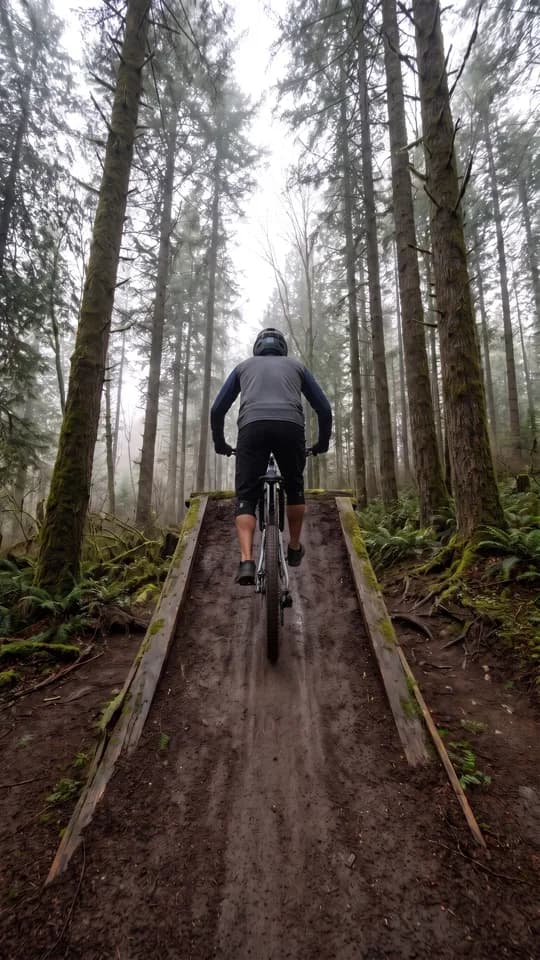
Audio: sound effects with AI
API: ElevenLabsThis was a new step in the creative process. In the first experiment we simply put a stock song in the background. This time we set out to generate natural sound for the surroundings, the bike and the rider, with the ElevenLabs API. We did it before planning the shots: the mix sets the lengths and the order of the takes, and the video is generated without audio.
This process was relatively simple:
- Some of the sounds were generated with prompts
- Others were taken from the ElevenLabs sound library
For the ones we built with prompts, this is what we learned:
- One sound, one event per prompt. When a prompt asked for the build-up and the hit, the model did the build-up and forgot the hit. That is why the chain’s snap, spin and whips are separate sounds that we place in the edit.
- Rhythm and state go in the words. The breathing worked when we asked for tired, steady breathing, “no voice”, at one per second. Without that it ended up as a dog panting.
- Don’t force the length. Asking for 2 s for a whole sequence gave a whip, not a chain that breaks. If you don’t say, the model picks and we trim afterwards.
- “No fade-in” is not respected. We cut the start with ffmpeg.
Two examples from each side:
Chain breakDiscarded
It sounded like a whip.
BreathingGenerated
Tired, steady breathing.
Video: generating the takes with AI
API: fal.aiWith the frames and the audio settled, we generated the takes. These are the three changes from the techniques of the first reel.
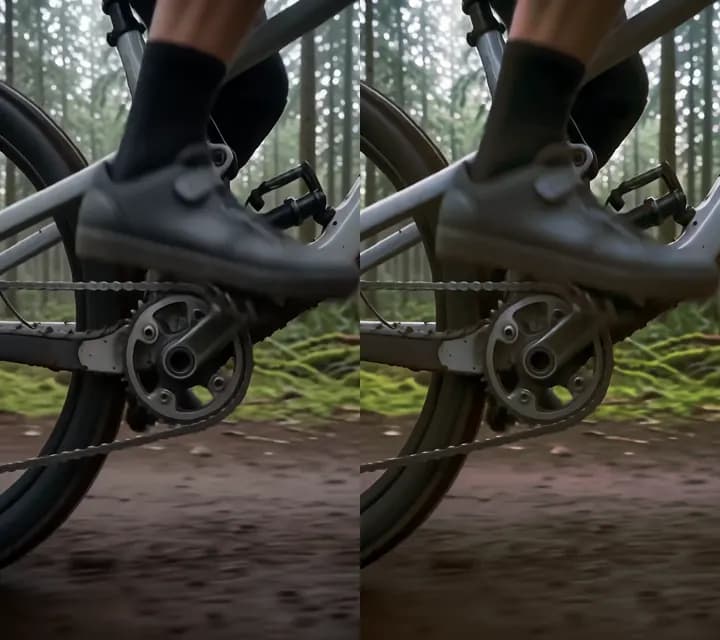
One long take is better than two shots
The two shots came out with a different ramp, light and colour. We gave the first one no end frame, so it didn’t finish where the second began, and the second started from its own still, with no momentum. With Kling 4 and Wan 3 the jump and the landing come out first time: one long shot is worth more than two cuts.
The trail and the jump were two shots.
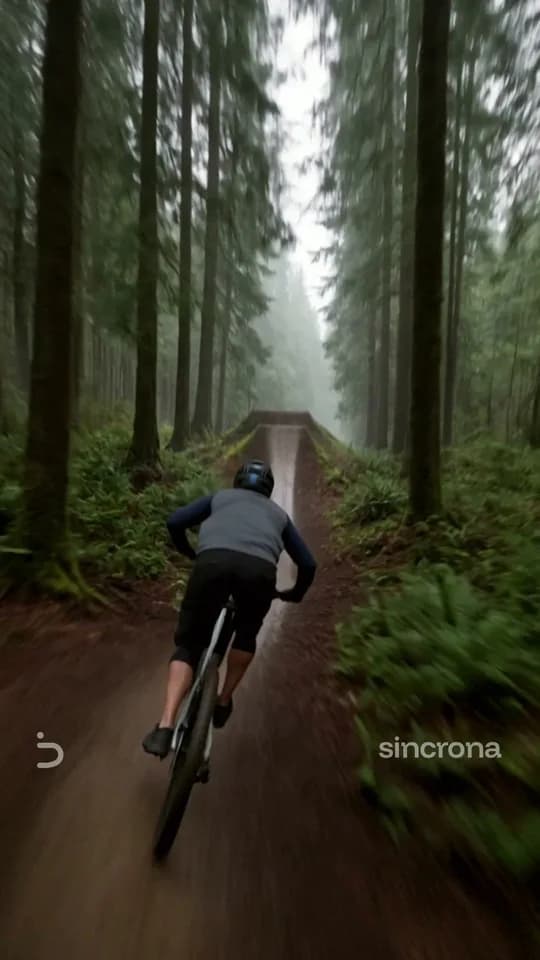
A single 10 s take, with the jump and the landing inside it.
In complex situations, use several frames
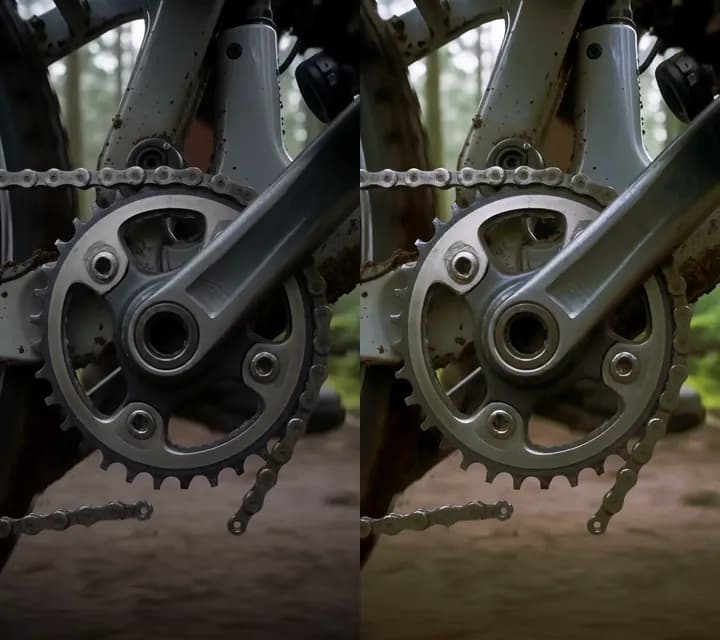
At first we gave the model a photo of the drivetrain and then told it to break it: none of them got it right.
To fix it, we generated a photo of the broken drivetrain and added it to the prompt as the target: this time it nailed it.
A 5 s shot that asked for six things at once, with only the last frame of the previous shot.
A 3 s take with a start and an end frame.
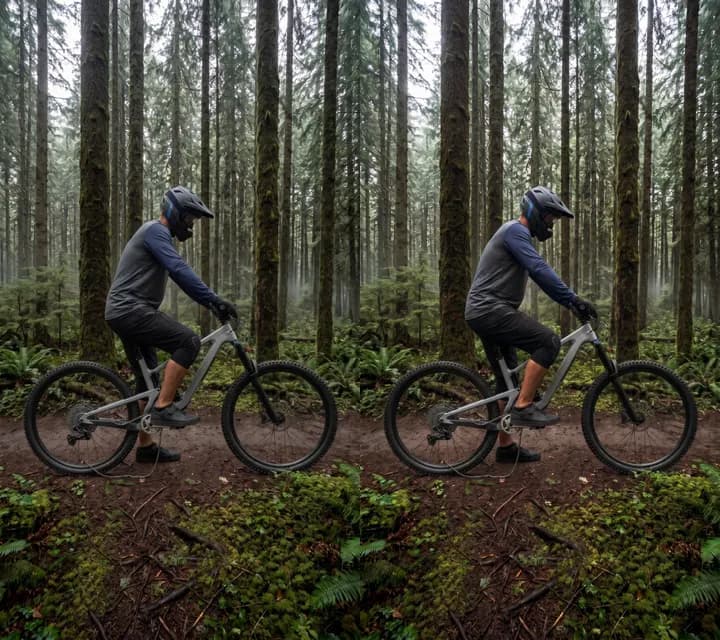
Colour calibration
Several factors affect the look of each take: exposure, shadows, contrast, hue and saturation. All of them vary with the model and the photos used. Even with the same model and photos, two takes can differ from each other.
Calibrating the colour is essential before putting the video together, so that all the clips feel coherent with each other.
Every clip has a different look.
Same exposure, shadows, contrast, hue, etc.
Post-production
With the four takes joined there was a video, but not yet a reel. It still needed the audio, the cover, the watermark and an ending with the product message. The final cut is draft number eleven. These were the tools:
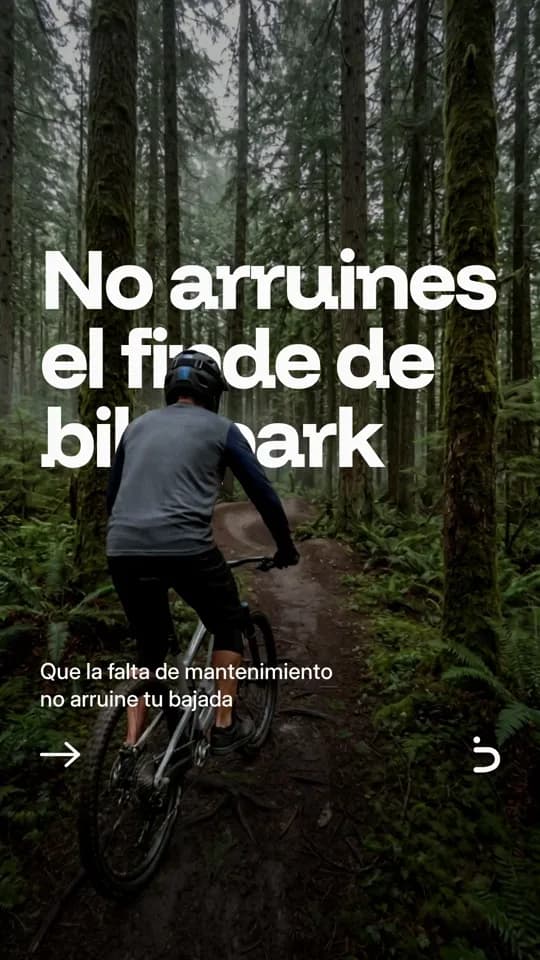
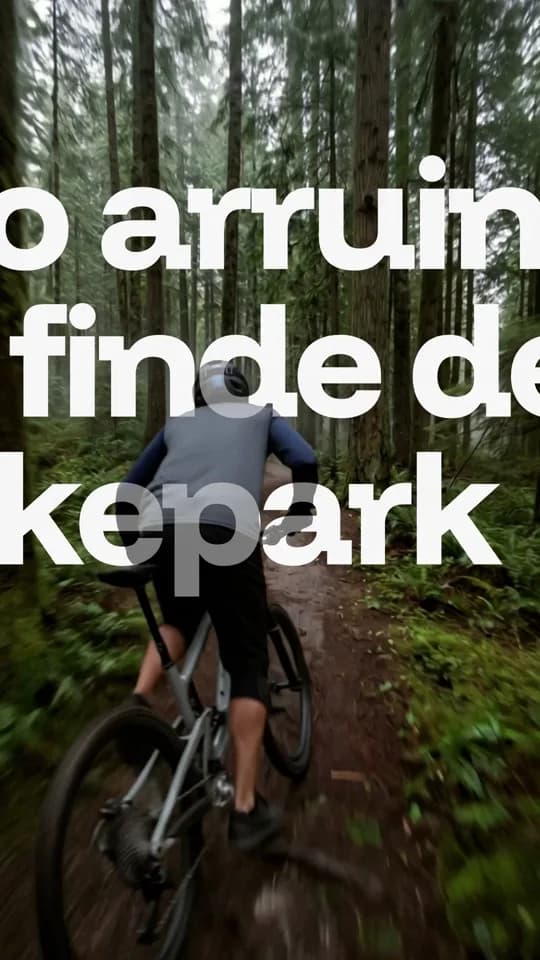

Audio, too
Besides the picture, we did the final mix and retouches of the audio: music, effects and sigh at the same level (−13.5 LUFS, a peak of −2 dBFS). We measured it, but we haven’t heard it.The final cut
The reel we will publish on Monday 9 November runs about 23 s:
- Opening: the cover, and the camera goes through the headline.
- Trail and jump: one long 10 s take.
- Sprint and snap: the zoom to the drivetrain and the chain snapping, with the music cut dead.
- Ending: the last take, the sigh and the message.
Taking stock: what worked and what it cost
Key changes
| Change | Paid off | Lesson |
|---|---|---|
| One take for long scenes | Yes | For a long scene with no particular detail, one take works better than stitching several together. |
| Two takes for key scenes | Yes | For a key moment, two takes beat one, with support frames to stress the detail. |
| Matching the colour | Yes | You have to check each output of the model and adjust the details afterwards to keep the look coherent. |
| Logging the real spend | Yes | The prices in the first article were too low. There is always spend on trial and error. |
| Generating every angle | Partly | Generating every angle before shooting helped avoid hallucinations, but sometimes they are easier to fix in the edit. |
| Starting with the sound | Partly | Mixing the audio before planning the shots set the rhythm of the cut (from 41 s to 19.5 s), but it was the most work. |
Where the money went
| Phase | Model | Spend | What for |
|---|---|---|---|
| Casting | Nano Banana Pro | $5.23 | Reference images and the frames for every take. About $0.13 an image. |
| Video | Kling 4 | $5.97 | Trail, jump, snap and final shot. The one that made it into the cut the most. About $0.79 per 5 s take. |
| Video | Wan 3 | $3.80 | Wide shots and the zoom to the drivetrain. About $0.50 per 5 s take; one take in the cut. |
| Video | Seedance 2.5 | $4.64 | Tried on complex scenes: it didn’t improve the tracking and made up lettering on the crank. About $2.32 per 5 s take; none in the cut. |
| Video | Gemini Omni Flash | $2.01 | Cheap alternative on the first shots. About $0.50 per take; none in the cut. |
| Sound | ElevenLabs | 2,690 credits | Chain, breathing, landing and forest effects. Paid in credits: about $0.40 in total, estimated. |
Spend that made it into the final cutExtra spend that was discarded
Total spent: $21.64. In the final cut: $8.56. Discarded: $13.09. The starting images count as part of the cut.
Try every borrowed idea on a single shot before turning it into a method.
Six out of every ten dollars went on takes that didn’t make it into the final cut. And we went over our own estimate: in our test of nine AI video models we said $5 to $15 for a reel this size, and the enduro cost $16.41 on video ($21.64 with the images). There was a reason: three kinds of shot with no earlier evidence. If the table of preferred models works, the next one should come out cheaper, but today that is a hypothesis.
We’ve written every step down (casting, audio, video and post-production) so the next reel starts from here.
Want to see what comes next? Follow us on LinkedIn.